First of all, I have to give credit again to Pahud who also inspired me to create a dedicated development environment using Github Codespaces. A few days ago he also released a YouTube video about building AWS CDK Construct Library with Projen. The first time I heard about Projen was at CDK Day and I immediately saw it as a game changer. So in this post, I'm going to follow Pahud's demo and write about my experience using Projen to create AWS CDK constructs. All of the code can be found on my Github and feel free to reach out to me on Twitter.
Getting Started
For me, I created a new Github repository with my codespace-devtools template which includes all of the tools out-of-the-box. Otherwise, you can start by adding an empty directory and then open in your code editor:
mkdir cdk-noob && cd cdk-noob
code .
Next we need to initialize the project
npx projen new awscdk-construct
This will generate all a number of files but the most important is the .projenrc.js file. In fact, there are several files in the project that are read-only and refer you to the .projenrc file to make the necessary changes. By default, it comes with a lot of commented code to provide the available options.
You can delete the comments because we only really need to add cdk dependencies so that the .projenrc file looks like the following:
const { AwsCdkConstructLibrary } = require('projen');

const project = new AwsCdkConstructLibrary({
  authorAddress: "mypersonalemail@email.com",
  authorName: "Blake Green",
  cdkVersion: "1.73.0",
  name: "cdk-noob",
  repository: "https://github.com/bgreengo/cdk-noob",
  cdkDependencies: [
    '@aws-cdk/core',
    '@aws-cdk/aws-ec2',
    '@aws-cdk/aws-ecs',
    '@aws-cdk/aws-ecs-patterns',
  ]

});

project.synth();
Next, in order to install the dependencies, run the following command:
npx projen
Now, you can take a look at the package.json file and notice that .projenrc added all of the dependencies automatically.
Creating the Construct
Inside the src directory, open the index.ts file. This is where we define the construct that we want to create. Delete the boilerplate code and import the dependencies:
import * as cdk from '@aws-cdk/core';
import * as ec2 from '@aws-cdk/aws-ec2';
import * as ecs from '@aws-cdk/aws-ecs';
import * as patterns from '@aws-cdk/aws-ecs-patterns';
Next, we can add the construct properties. For example, we can add an optional VPC property so if a VPC isn't defined, it will create a new VPC.
export interface NoobProps {
  readonly vpc?: ec2.IVpc;
}
Now, we can create the class to create the construct. This will actually contain the resources within the construct including the VPC, ECS cluster, Fargate task, and the Application Load Balanced Fargate service.
export class Noob extends cdk.Construct {
  readonly endpoint: string;
  constructor(scope: cdk.Construct, id: string, props: NoobProps = {}) {
    super(scope, id);

    const vpc = props.vpc ?? new ec2.Vpc(this, 'vpc', { natGateways: 1 });
    const cluster = new ecs.Cluster(this, 'cluster', { vpc });
    const task = new ecs.FargateTaskDefinition(this, 'task', {
      cpu: 256,
      memoryLimitMiB: 512,
    });
    task.addContainer('flask', {
      image: ecs.ContainerImage.fromRegistry('pahud/flask-docker-sample:latest'),
    }).addPortMappings({ containerPort: 80 });
    const svc = new patterns.ApplicationLoadBalancedFargateService(this, 'service', {
      cluster,
      taskDefinition: task,
    });
    this.endpoint = `http://${svc.loadBalancer.loadBalancerDnsName}`;
  }
}
And then we run yarn watch
NOTE: make sure there's no errors being reported from yarn.
Integration Testing
In the same src directory as the index.ts, create another file called integ.default.ts and enter the following code:
import { Noob } from './index';
import * as cdk from '@aws-cdk/core';

export class IntegTesting {
  readonly stack: cdk.Stack[];
  constructor() {
    const app = new cdk.App();

    const env = {
      region: process.env.CDK_DEFAULT_REGION,
      account: process.env.CDK_DEFAULT_ACCOUNT,
    };

    const stack = new cdk.Stack(app, 'my-noob-stack', { env });

    new Noob(stack, 'mynoob');

    this.stack = [stack];
  }
}

new IntegTesting();
In another terminal, while yarn watch is still running, you can run the following cdk diff command to make sure everything is good so far:
npx cdk --app lib/integ.default.js diff
Next, you can deploy the stack to make sure everything works properly. After the deployment is complete, you should see the output to test the endpoint.
npx cdk --app lib/integ.default.js deploy
Next, we need to add a file called integ.snapshot.test.ts in the test directory of the project. Also, you can delete the auto generated file hello.test.ts so the test passes successfully. It should look something like this:
import '@aws-cdk/assert/jest';
import { SynthUtils } from '@aws-cdk/assert';
import { IntegTesting } from '../src/integ.default';

test('integ snapshot validation', () => {
  const integ = new IntegTesting();
  integ.stack.forEach(stack => {
    expect(SynthUtils.toCloudFormation(stack)).toMatchSnapshot();
  });
});
In the terminal, we can run yarn test and the test should pass. Now, in the __snapshots__ directory you can see the raw CloudFormation that was synthesized in the snapshot.
Now you can run yarn build which will generate the API.md document.
Don't forget to destroy the resources!!! While yarn watch is still running in another terminal session, run the following command to destroy the integration testing resources.
npx cdk --app lib/integ.default.js destroy
At this point, if you haven't already created a Github repository with my codespace-devtools template, you will want to create a new repo now.
Unit Testing
In a simple but effective way, we can easily add unit testing to the construct. Since we know that we will absolutely include an Application Load Balancer, we can create a unit test that checks the snapshot which should include that resource type.
Create a new file in the test directory called default.test.ts and include the following code:
import { App, Stack } from '@aws-cdk/core';
import { Noob } from '../src';
import '@aws-cdk/assert/jest';

test('create the default Noob construct', () => {
  //GIVEN
  const app = new App();
  const stack = new Stack(app, 'testing-stack');

  //WHEN
  new Noob(stack, 'Cluster');

  //THEN
  expect(stack).toHaveResource('AWS::ElasticLoadBalancingV2::LoadBalancer');
});
Run yarn test and make sure the test pass for both integration and unit tests.
Publish the Construct
We want to publish this construct to PyPI so we open the .projenrc.js file and add the following block under the cdkDependencies:
  python: {
    distName: 'cdk-noob',
    module: 'cdk_noob',
  }
Now run: npx projen
This will automatically update the Github Actions workflow to include a release step to PyPI. You can see this by going to .github/workflows/release.yml and scroll towards the bottom. WOW! As you can also see, there's already an NPM step as well.
Next, we need to add the secrets to the repo for NPM and PyPI so that we can publish the construct. In the settings of the repo, go to secrets and add the following secrets from NPM and PyPI.
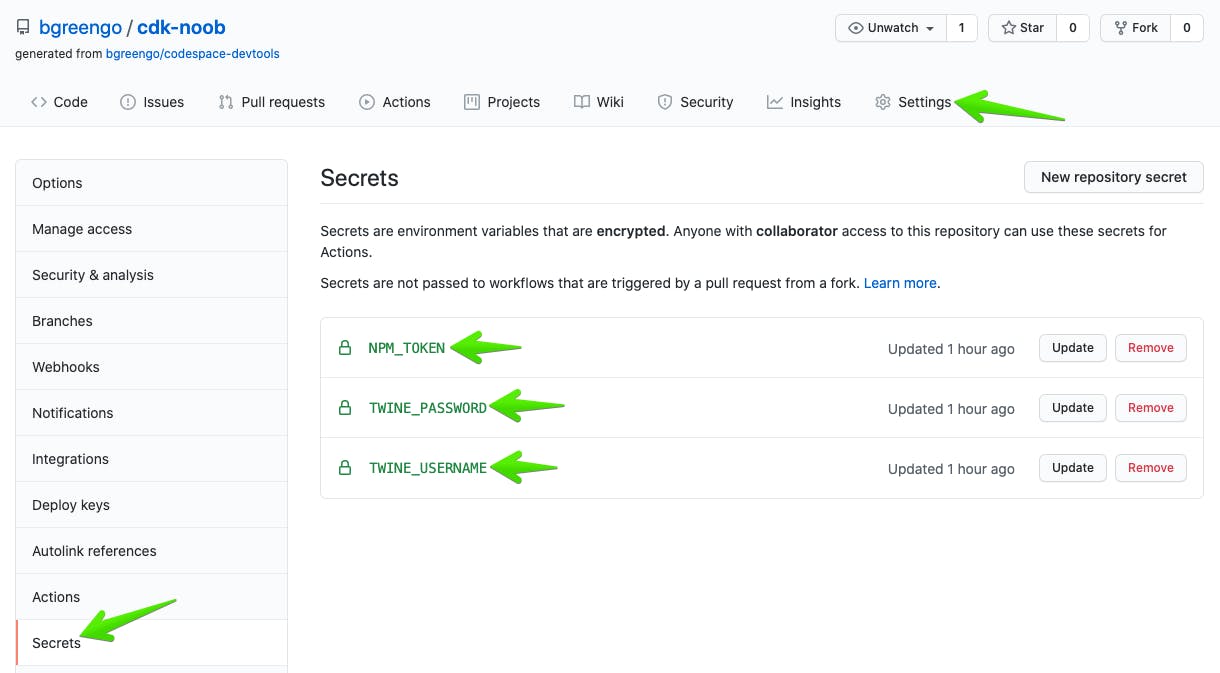
Back in the editor, we need to update the release branch by adding the following under the python code block:
releaseBranches: ['main']
We can also exclude some common files that we don't want to add to the git repository by adding:
const common_exclude = ['cdk.out', 'cdk.context.json', 'images', 'yarn-error.log'];
project.npmignore.exclude(...common_exclude);
project.gitignore.exclude(...common_exclude);
Finally, we can run npx projen to update all the necessary files.
Now we are ready to commit all of the changes to the Github repository.
git add .
git commit -m "initial commit"
git branch -M main
yarn bump --release-as 0.1.0
git push --follow-tags origin main
Now you can go to your Github repository and on the Actions tab, you will see the Release job which will publish the construct to NPM and PyPI.
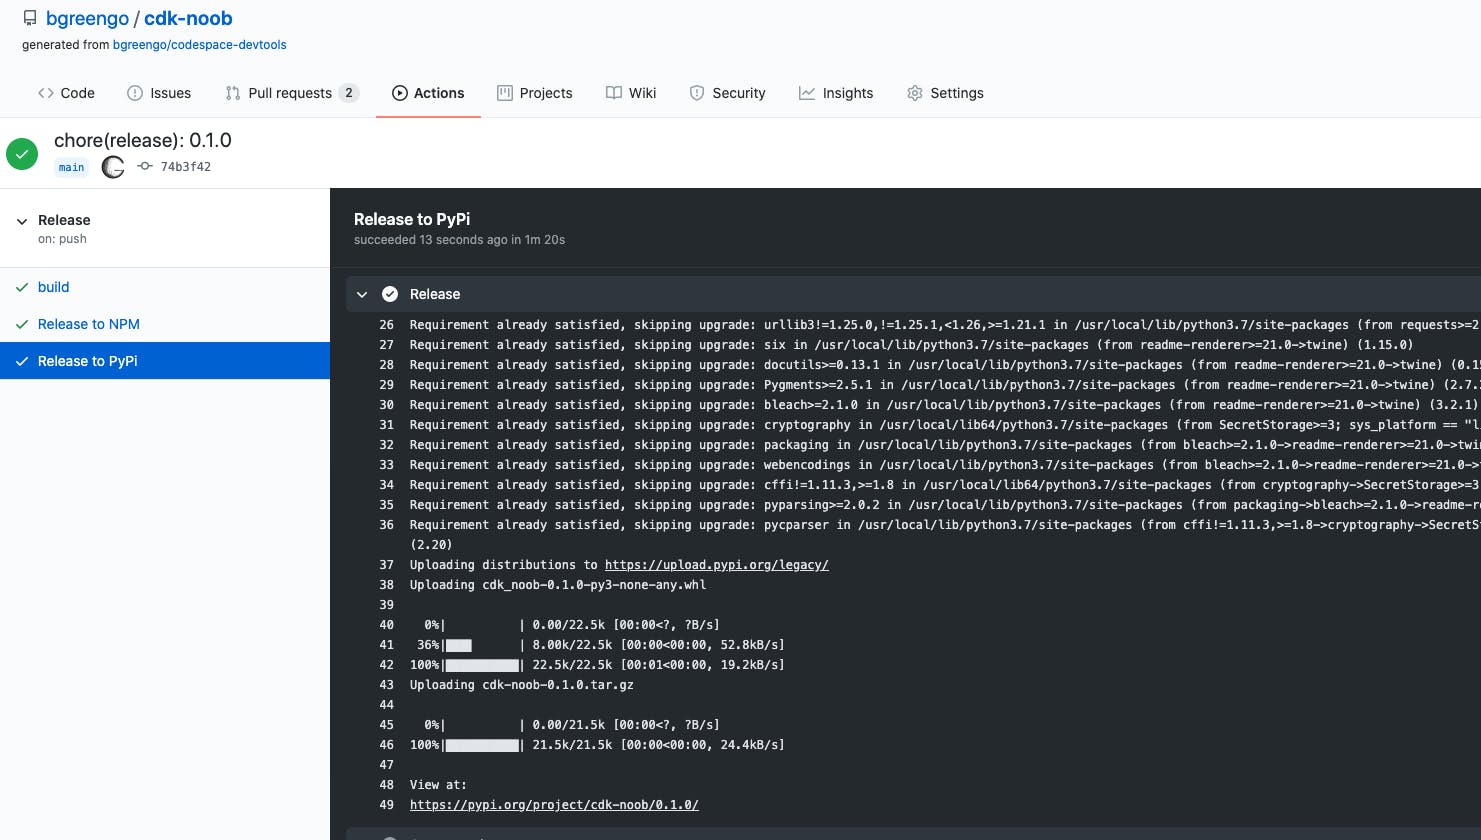
After the build is finished, you can go to NPM and PyPI, search for the packages and see them on each platform.
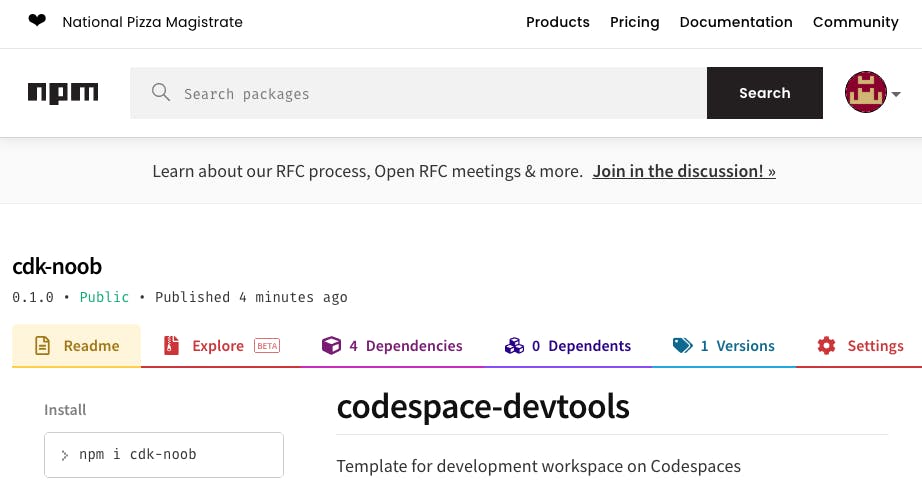
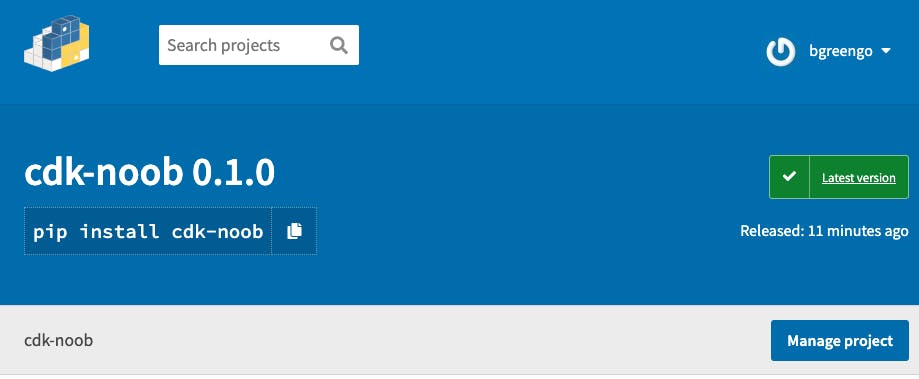
Update the Construct
Let's say you want to add an update and you make a change to the README. Simply run:
git commit -am "update readme"
yarn release
git push --follow-tags origin main
This will allow you to add minor updates (i.e. v0.1.1) otherwise run yarn bump.
